The Story Behind the Celebration |
My mentor, Chef Julian, first handed me a slice of these bars during a humid July afternoon in New England. I remember the kitchen was a chaos of activity, filled with the distant sound of sizzling corn on the grill outside, creating a sensory bridge between the savory feast and the sweet finale he was preparing. He insisted that a holiday dessert should not only taste of nostalgia but should visually anchor the entire celebration.
That specific encounter taught me that the chemistry of a great cookie bar lies in the balance of moisture and structure. Julian didn’t just throw ingredients together; he treated the dough like a canvas, carefully manipulating the fats to ensure the colors remained distinct rather than muddying into a purple haze. It is that technical precision, combined with a spirit of generosity, that I have refined into this professional version for your own home kitchen.
- ●The striking visual contrast of red, white, and blue creates an instant centerpiece for any table.
- ●A buttery, shortbread-style base provides a sophisticated crumb that resists sogginess.
- ●Minimal cleanup is required since the entire dessert is baked in a single rectangular pan.
- ●The flavor profile is a timeless blend of vanilla and sweet cream that appeals to adults and children alike.
- ●These bars are remarkably sturdy, making them ideal for outdoor picnics and transport to parties.
Essential Ingredients |
Unsalted Butter is chemically composed of roughly 82% fat and 16% water; it provides the essential emulsion that ensures the bars remain tender rather than tough.
Granulated Sugar originates from sucrose crystals that, when melted, create the characteristic golden-brown caramelization and a crisp edge on the perimeter of the pan.
All-Purpose Flour contains a moderate amount of gluten, which we must handle carefully to provide enough structure to hold the colors without becoming bread-like.
Vanilla Extract is derived from the pods of the Orchidaceae family and serves as the aromatic bridge that ties the sweetness of the sugar to the richness of the butter.
Red and Blue Gel Food Coloring consists of highly concentrated pigments that allow for vivid hues without altering the chemical hydration of the batter, unlike liquid dyes.
White Chocolate Chips are made from cocoa butter and milk solids, adding pockets of creamy texture and a subtle sweetness that complements the vanilla base.
 Let’s Make it Together |
- Cream the softened butter and sugar in a stand mixer on medium-high speed until the mixture is pale and fluffy. Pro tip: Ensure your butter is exactly 65°F to achieve the perfect aeration.
- Whisk the flour and salt together in a separate bowl to ensure there are no clumps of leavening or minerals before integrating.
- Fold the dry ingredients into the butter mixture using a rubber spatula, stirring only until no streaks of flour remain. Pro tip: Overmixing at this stage will develop too much gluten, leading to a rubbery texture.
- Divide the dough into three equal portions, placing each into a medium mixing bowl for individual coloring.
- Incorporate the red and blue gel colors into two of the bowls, stirring gently until the pigment is evenly distributed, leaving the third bowl white.
- Press the white dough into the bottom of a lined 9×9 inch pan, smoothing it with an offset spatula.
- Dollop the red and blue doughs on top of the white layer and use a knife to swirl them together in a patriotic pattern. Pro tip: Stop swirling as soon as you see ribbons of color to prevent the doughs from merging into a single shade.
- Bake at 350°F for 25-30 minutes until the edges are golden and the center is set.
Avoid using liquid food coloring as it adds excess moisture and can cause the bars to sink in the middle.
Do not cut the bars while they are hot, or the internal structure will collapse and the edges will look jagged.
Ensure your oven rack is in the center position to prevent the bottom from burning before the top sets.
Sift your flour if you notice any clumps, as these will create white spots in your colored sections.
Line your pan with parchment paper with an overhang to allow for a clean lift once the bars have cooled.
Perfecting the Cooking Process |
Temperature control is the most critical element of this bake. If the butter is too melted, the fats will separate, resulting in a greasy surface and a lack of height. Conversely, if the butter is too cold, it won’t cream with the sugar, leaving you with a dense, heavy block rather than a tender bar. Aim for a consistency where the butter is soft to the touch but still holds its shape.
Timing the removal from the oven requires a keen eye for the ‘golden edge’ signal. You are looking for a slight brown ring around the perimeter and a matte finish on top. If the center still wobbles significantly, give it another three minutes. Because of the sugar density, these bars carry significant residual heat, meaning they will continue to cook for several minutes after being removed from the oven.
Add Your Touch |
For those seeking a flavor shift, consider swapping the vanilla extract for almond extract to give the bars a marzipan-like quality. If you prefer a dietary modification, substitute the all-purpose flour with a high-quality 1:1 gluten-free blend; however, you may need to add an extra tablespoon of cornstarch to maintain the structural integrity of the swirls.
To elevate the presentation, try adding a sprinkle of coarse sea salt on top of the blue sections to contrast the sweetness. For a seasonal twist in late summer, fold in finely diced dried strawberries into the red dough. Finally, for a more decadent version, replace the white chocolate chips with a layer of lemon curd spread thinly over the base before adding the colored doughs.
Storing & Reheating |
Store these bars in an airtight container at room temperature for up to four days. It is best to place a piece of parchment paper between layers to prevent the colors from sticking to one another.
To reheat a slice to its original buttery glory, place it in a toaster oven at 300°F for three to five minutes. This gently warms the fats without overcooking the sugars, restoring that freshly-baked softness.
1Use a digital scale for your flour measurements to ensure total consistency across your batches.
2Chill the dough for 30 minutes before swirling if you find the colors are bleeding too much.
3Apply a thin layer of butter to the parchment paper for an extra-crispy bottom crust.
4Use gel colors specifically formulated for baking to maintain the vibrancy after the heat is applied.
5Press the dough firmly into the corners of the pan to avoid uneven baking and raw edges.
FAQ |
- ●Q: Why did my colors blend together and turn purple?A: This typically happens because of over-swirling. Once you have created a few distinct ribbons of red and blue through the white base, stop immediately. The colors will naturally expand slightly during the baking process, and excessive mixing will fuse the pigments into a single, muddy hue.
- ●Q: Can I use a different size pan than 9×9 inches?A: Yes, you can use a 9×13 inch pan, but you will need to increase the entire recipe by 50% to maintain the same thickness. If you use the original amount of dough in a larger pan, the bars will be too thin and will likely overbake and become hard.
- ●Q: How do I get perfectly clean cuts for my bars?A: The secret is to chill the bars in the refrigerator for one hour before slicing. Use a long, sharp chef’s knife and wipe the blade clean with a damp cloth between every single cut. This prevents the colors from smearing across the white sections and ensures professional edges.
- ●Q: Is it possible to make these bars vegan?A: You can substitute the butter with a high-quality vegan butter stick and the white chocolate chips with dairy-free white chocolate alternatives. Be aware that vegan fats can behave differently in the oven, so keep a close eye on the bake time and ensure the center is fully set.

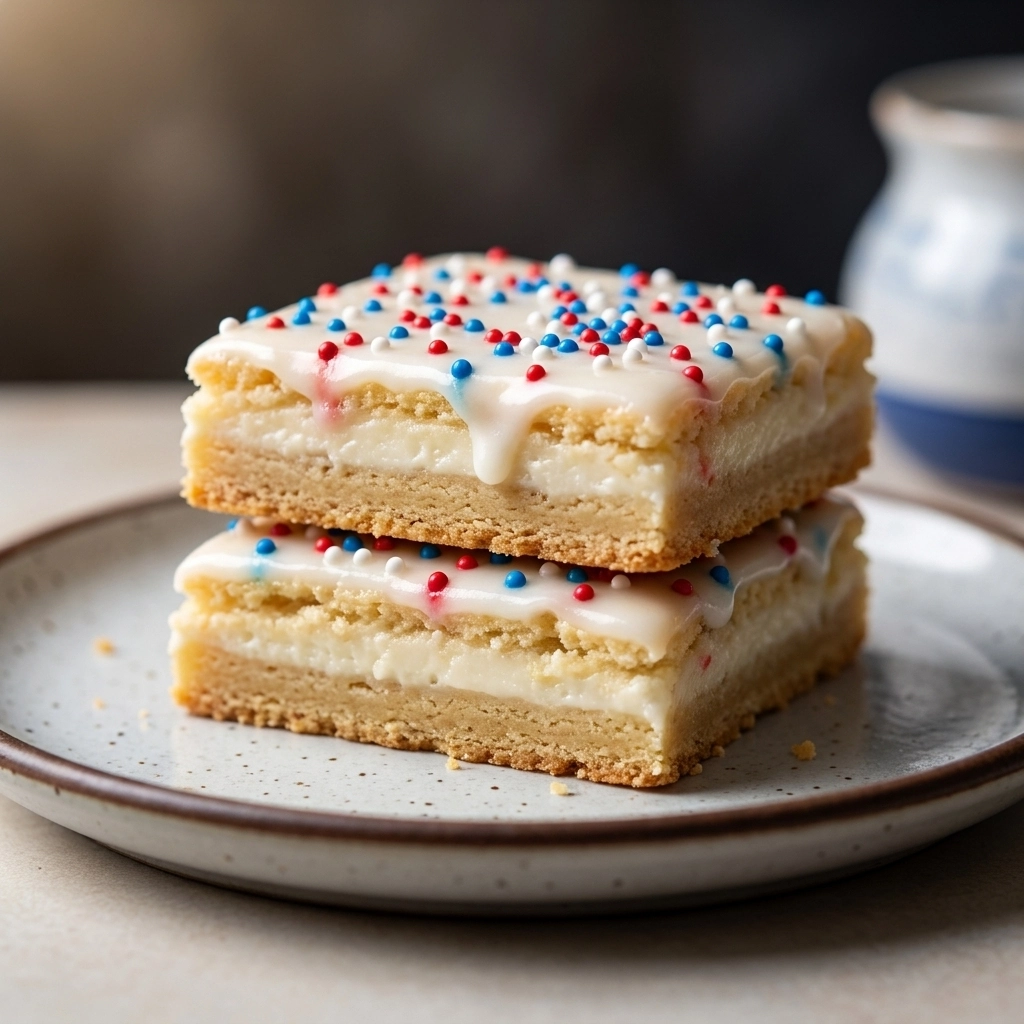
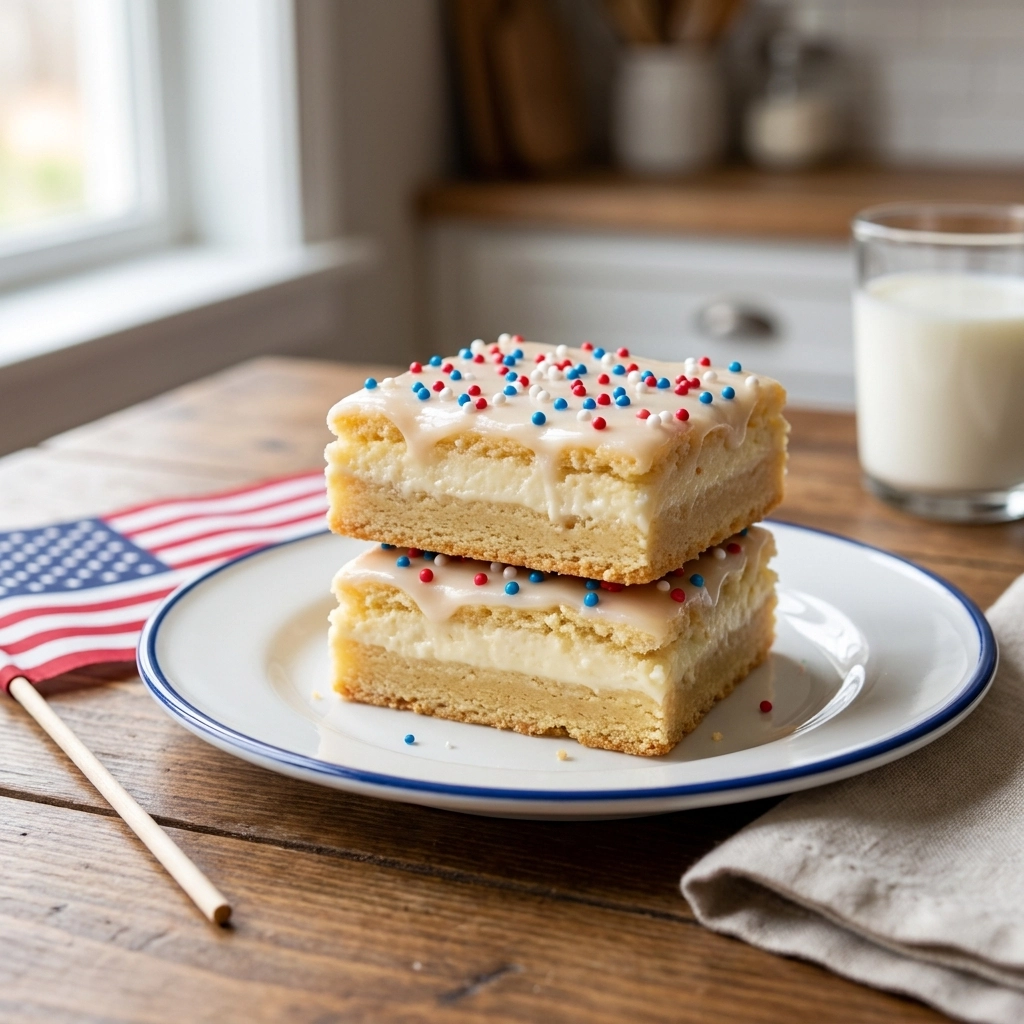
Celebrate with Delicious Fourth of July Cookie Bars
- Total Time: 50 minutes
- Yield: 16 bars 1x
Description
Buttery, chewy patriotic cookie bars with vibrant red and blue swirls and a creamy white chocolate base.
Ingredients
- 1 cup unsalted butter, softened
- 1 cup granulated sugar
- 2 1/4 cups all-purpose flour
- 1 tsp vanilla extract
- 1/2 tsp salt
- 1/2 cup white chocolate chips
- Red gel food coloring
- Blue gel food coloring
Instructions
- Preheat oven to 350°F and line a 9×9 inch pan with parchment paper.
- Cream butter and sugar until light and fluffy.
- Mix in vanilla extract and stir in the flour and salt until just combined.
- Fold in white chocolate chips.
- Divide dough into three equal parts.
- Color two parts red and blue, leave one white.
- Press white dough into the pan, then dollop red and blue on top.
- Swirl gently with a knife to create a pattern.
- Bake for 25-30 minutes until edges are golden.
- Cool completely before slicing into squares.
- Prep Time: 20 minutes
- Cook Time: 30 minutes
- Category: Dessert
- Method: Baking
- Cuisine: American