The Art of the Swirl |
I must confess that my first attempt at combining these two flavors resulted in a greasy, sunken mess because I ignored the ratio of fats to flour. I believed that adding more peanut butter would automatically equal more flavor, but instead, I created a dessert that resembled a puddle of oil more than a cake, teaching me the hard way that baking is chemistry, not guesswork.
My fascination with this specific flavor profile began years ago in a small, dusty confectionery shop in Belgium, where I tasted a cocoa-nut tart that balanced salty richness with deep bitterness. That experience drove me to refine this recipe, ensuring that the peanut butter enhances the chocolate rather than overwhelming it, resulting in a texture that is dense, moist, and professionally structured.
- ●The perfect balance of salty peanut butter and sweet dark chocolate.
- ●A fudgy, dense consistency that avoids the dryness of traditional cake-like brownies.
- ●Minimal cleanup thanks to a streamlined mixing process.
- ●Highly adaptable for those who prefer a swirl or a layered approach.
- ●An impressive presentation that looks professional but requires basic skills.
Essential Ingredients |
Unsalted Butter provides the essential fat that carries flavor and ensures a tender crumb gluten development during mixing.
Semi-Sweet Chocolate acts as the structural base and primary flavor profile, providing the necessary cocoa solids and fats for a rich, decadent mouthfeel.
Granulated Sugar does more than sweeten; it hygroscopically binds water to create that signature moist, chewy texture we associate with high-end brownies.
Creamy Peanut Butter introduces a salty contrast and a distinct protein-based fat that changes the viscosity of the batter, creating a denser bite.
Large Eggs serve as the primary emulsifier, binding the fats and liquids together while providing the lift needed to keep the brownies from becoming too compact.
All-Purpose Flour provides the necessary gluten structure to hold the ingredients together without making the brownie tough or bread-like.
Cocoa Powder intensifies the chocolate flavor cocoa solids without adding extra moisture.
 Let’s Make it Together |
- To ensure even heat distribution and prevent the edges from burning, preheat your oven to 350°F (175°C) and line an 8×8 inch pan with parchment paper.
- To create a smooth emulsion, melt the butter and chocolate together using a double boiler or short bursts in the microwave until fully combined.
- To avoid incorporating too much air which causes the brownies to cake, stir in the sugar slowly and steadily until the mixture is glossy.
- To ensure the batter is well-bound and stable, beat in the eggs one at a time, ensuring each is fully incorporated before adding the next.
- To keep the crumb tender and avoid a tough texture, fold in the flour and cocoa powder using a spatula just until no white streaks remain.
- To achieve the iconic marbled look, pour the chocolate batter into the pan and dollop spoonfuls of peanut butter on top, then use a knife to swirl them together.
- To prevent overbaking and drying out the center, bake for 20-25 minutes until a toothpick inserted in the center comes out with a few moist crumbs.
Avoid overmixing the batter once the flour is added to prevent a tough, bread-like texture.
Ensure your eggs are at room temperature so they emulsify properly with the melted fats.
Use a high-quality creamy peanut butter for the smoothest swirl and consistent flavor.
Wait at least one hour before slicing to allow the structure to set properly.
Parchment paper is non-negotiable for easy removal of these sticky, fudgy treats.
Perfecting the Cooking Process |
You’ll notice that the temperature of your oven is the most critical variable in this process. A calibrated oven ensures that the sugars caramelize at the correct rate without scorching the cocoa solids, which would introduce a bitter, burnt taste to the edges of your pan.
Trust your nose here; the scent of toasted nuts and deep chocolate will signal that the brownies are nearing completion. Because peanut butter varies in oil content, the ‘toothpick test’ can be deceptive, so look for slightly set edges and a center that still has a very slight jiggle.
Add Your Touch |
Your pan should be a canvas for experimentation, such as adding a pinch of flaky sea salt on top of the peanut butter swirls to amplify the contrast between sweet and savory. For those who enjoy a bit of crunch, folding in chopped roasted peanuts provides a textural counterpoint to the smooth fudge.
Consider substituting a portion of the semi-sweet chocolate with dark chocolate (70% cocoa) for a more sophisticated, adult profile. If you prefer a different nut flavor, almond butter or cashew butter can be swapped in using the exact same measurements.
Storing & Reheating |
Store these brownies in an airtight container in the refrigerator for up to one week to maintain their dense, fudgy consistency. Keeping them chilled prevents the fats from separating and keeps the peanut butter swirls from bleeding into the chocolate base.
To reheat a slice, place it on a microwave-safe plate and heat for only 10-15 seconds on medium power. This brief warming period softens the fats just enough to recreate that melt-in-your-mouth experience without overcooking the center.
1Sift your cocoa powder to remove any lumps that could create bitter pockets in the batter.
2Use a digital scale for the flour to ensure absolute accuracy and a consistent texture.
3Chill the sliced brownies for 30 minutes before cutting for perfectly clean, sharp edges.
4Whisk the sugar into the hot butter to help dissolve the crystals for a shinier top.
5Avoid using ‘natural’ peanut butter that separates, as the excess oil can ruin the emulsion.
FAQ |
- ●Q: Why are my brownies too oily on top?A: This usually happens if you use a natural peanut butter with high oil content or if the butter and chocolate weren’t emulsified properly. Ensure you stir the peanut butter well before adding it and avoid over-mixing the final batter.
- ●Q: Can I make these gluten-free?A: Yes, you can substitute the all-purpose flour with a 1:1 gluten-free baking blend. However, be aware that the texture may be slightly denser, as the lack of gluten changes how the brownies hold their structure.
- ●Q: Why did my brownies turn out cakey instead of fudgy?A: Cakey brownies are the result of over-beating the eggs or adding too much flour. To maintain a fudgy consistency, mix the flour in gently with a spatula rather than using an electric mixer.
- ●Q: Can I use a different size pan?A: You can use a 9×9 pan, but the brownies will be thinner and will require a shorter baking time. I recommend checking them 5 minutes earlier than the recipe suggests to avoid overbaking the thinner layer.
- ●Q: Do I need to grease the pan if I use parchment paper?A: No, the parchment paper provides a sufficient barrier between the batter and the pan. In fact, greasing the pan under the parchment can make the paper slide around, which disrupts the swirl pattern.
- ●Q: How do I get the perfect swirl every time?A: The secret is to drop the peanut butter in small mounds across the surface rather than one big glob. Use a toothpick or thin knife to draw figure-eight patterns through the mounds for a professional, marbled aesthetic.
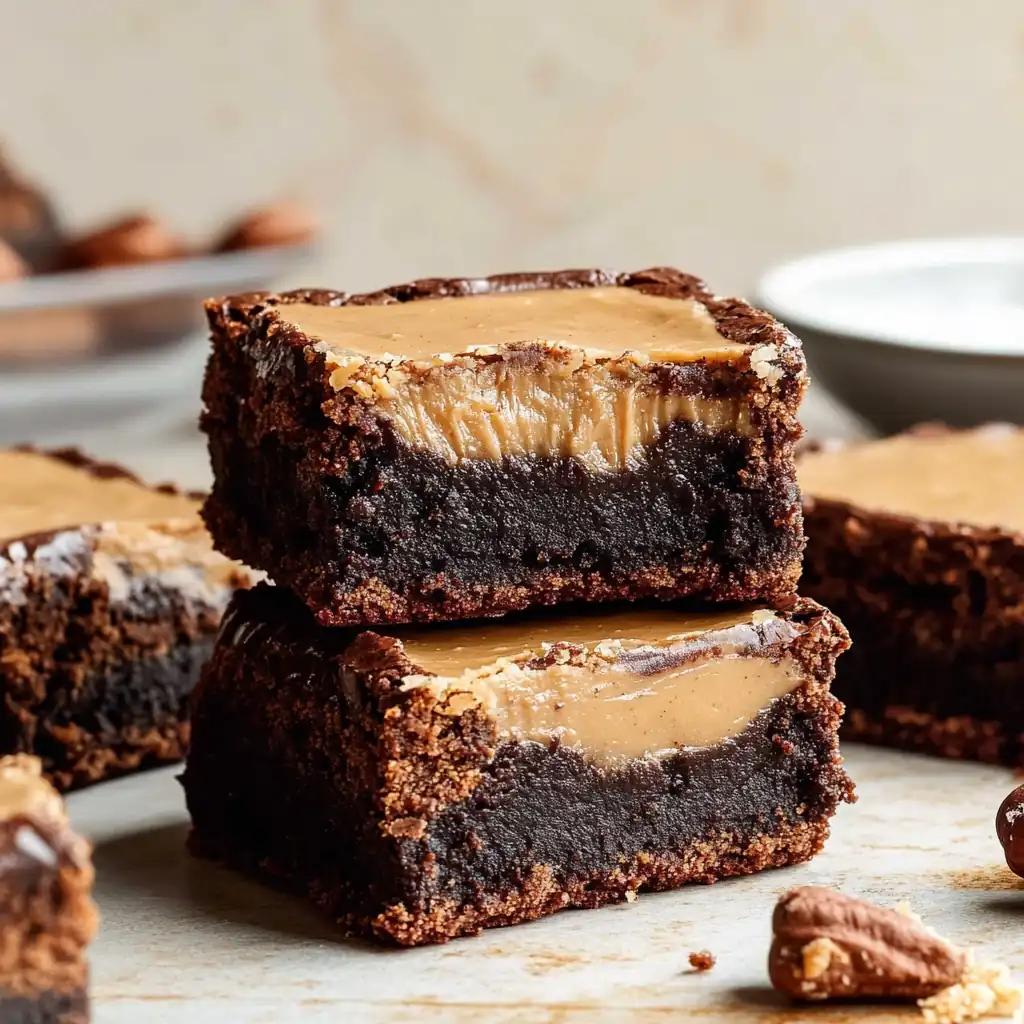
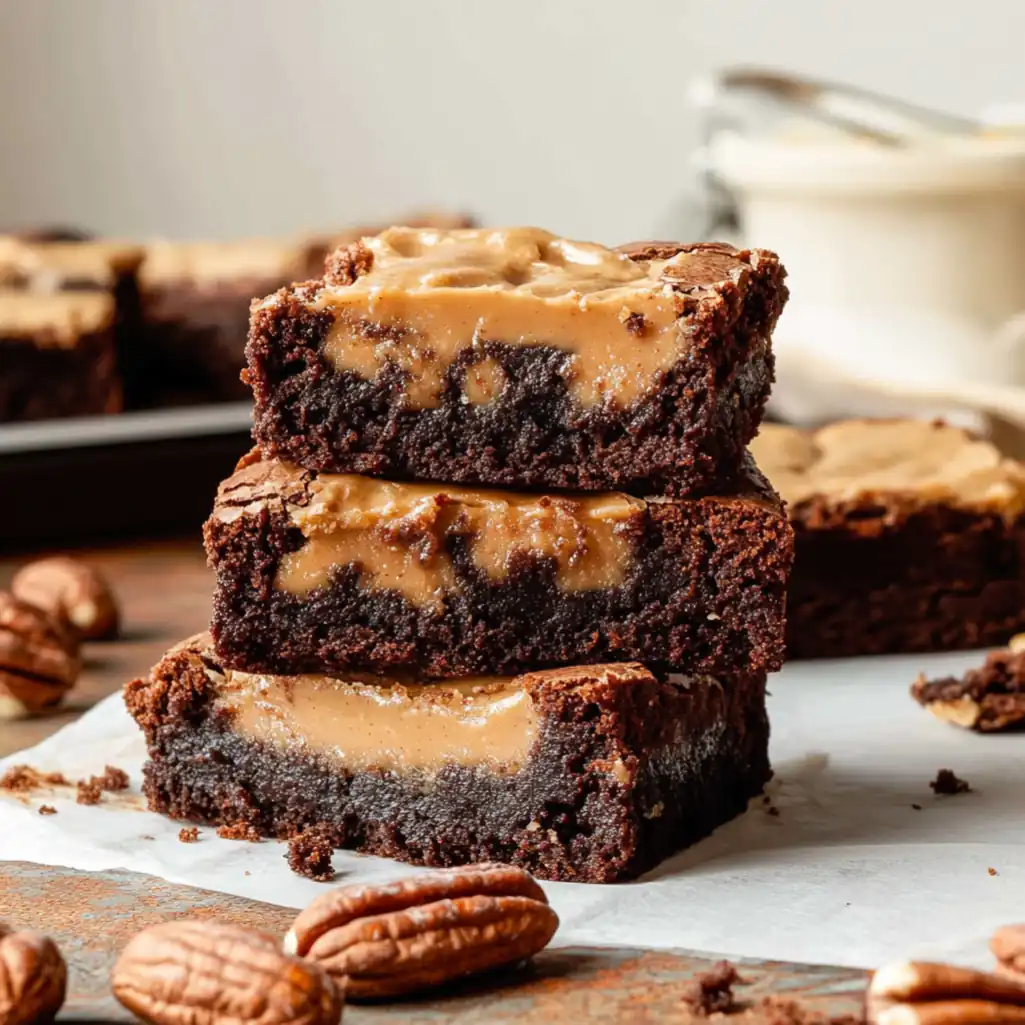
The Definitive Guide to Easy Peanut Butter Brownies
- Total Time: 40 minutes
- Yield: 16 brownies 1x
Description
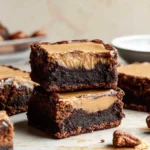
A decadent fusion of rich chocolate brownies and creamy peanut butter swirls. These brownies are technically balanced for a fudgy, dense texture and a professional finish.
Ingredients
- 1/2 cup unsalted butter, melted
- 1 cup semi-sweet chocolate chips
- 1 cup granulated sugar
- 2 large eggs, room temperature
- 1/2 cup all-purpose flour
- 1/4 cup cocoa powder
- 1/2 cup creamy peanut butter
Instructions
- Preheat oven to 350°F (175°C) and line an 8×8 inch pan with parchment paper.
- Melt butter and chocolate together until smooth.
- Stir in sugar until well combined.
- Beat in eggs one at a time.
- Fold in flour and cocoa powder until just combined.
- Pour batter into pan and dollop peanut butter on top.
- Swirl peanut butter into chocolate using a knife.
- Bake for 20-25 minutes until slightly set.
- Cool completely before slicing.
- Prep Time: 15 minutes
- Cook Time: 25 minutes
- Category: Dessert
- Method: Baking
- Cuisine: American