Pure bliss in every single spoonful. |
We have all endured those store-bought pints that promise luxury but deliver a frozen, icy texture and a chemical aftertaste that lingers. It is a heartbreak when you crave a decadent treat and end up with something that feels more like frozen syrup than a creamy dessert. You deserve a version that actually melts on your tongue and satisfies that deep, soulful craving for something truly rich.
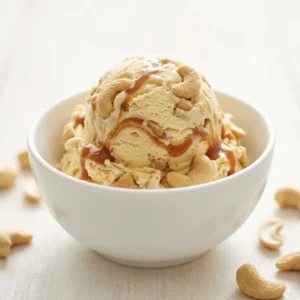
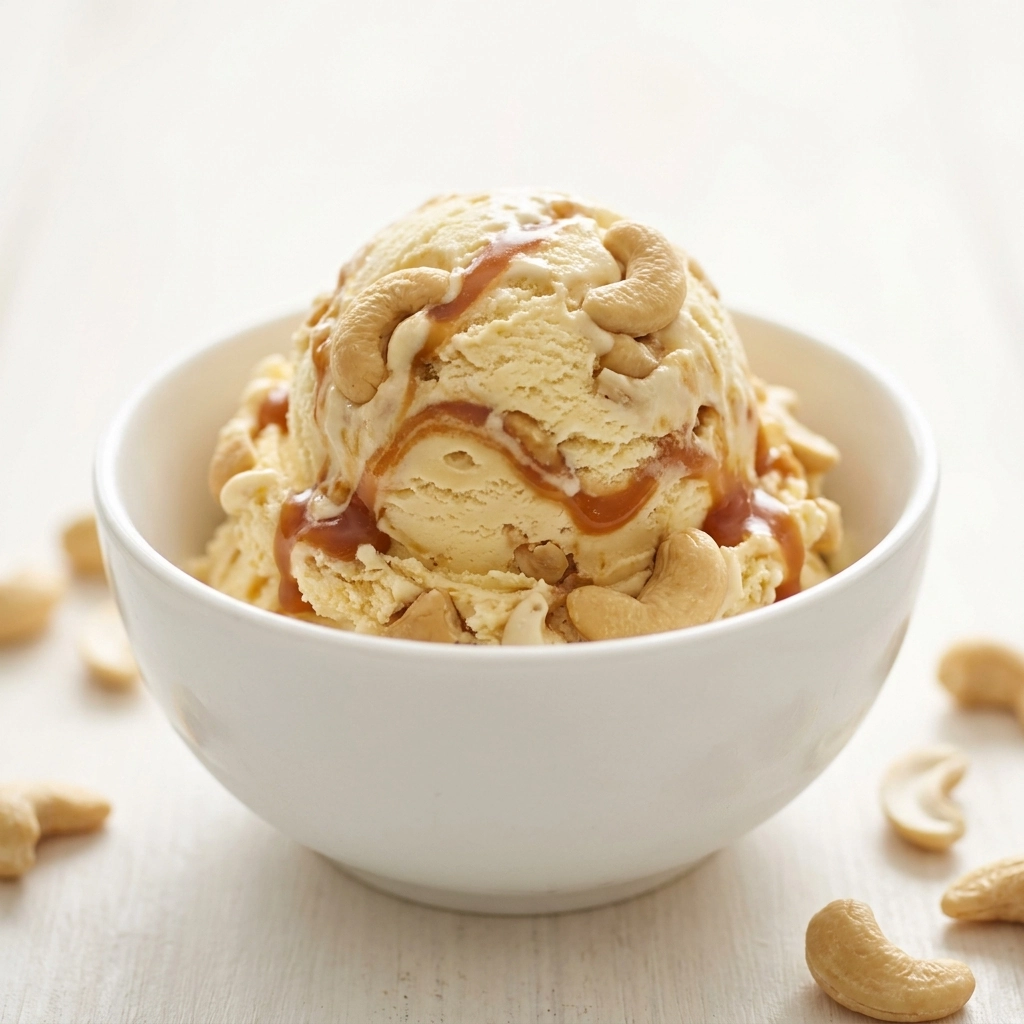
Imagine a velvety sea of vanilla-infused cream swirling together with a deep, amber caramel that tastes like a warm hug. When you add the crunch of perfectly toasted cashews, the experience transforms from a simple snack into a gourmet event. Even if you have never touched an ice cream maker in your life, I promise you that you can master this. We will walk through every single step together, ensuring your result is nothing short of transcendent.
- ●The balance of salty cashews and sweet caramel creates a sophisticated flavor profile.
- ●You get total control over the sugar levels, making it far better than industrial versions.
- ●The texture is incredibly dense and creamy, avoiding the common pitfall of icy crystals.
- ●It makes an impressive centerpiece for dinner parties or a comforting midnight snack.
- ●Using real butter and heavy cream ensures a mouthfeel that is pure luxury.
Essential Ingredients |
Heavy Cream provides the essential fat content for a smooth, non-icy texture; you can substitute this with full-fat coconut cream for a dairy-free version.
Whole Milk balances the richness of the cream to ensure the ice cream isn’t too heavy; cashew milk is a wonderful alternative for a nuttier base.
Granulated Sugar acts as the primary sweetener and lowers the freezing point for a softer scoop; coconut sugar works well for a deeper, molasses-like flavor.
Vanilla Extract adds a fragrant, floral depth that ties the caramel and nuts together; a vanilla bean pod scraped fresh is a luxurious upgrade.
Salted Butter gives the caramel its signature buttery finish and prevents the sweetness from becoming cloying; vegan butter sticks work perfectly here.
Brown Sugar creates the complex, toasted notes required for a professional-grade caramel sauce; maple syrup is a great liquid alternative.
Raw Cashews contribute a creamy crunch and a mild, buttery nuttiness; roasted almonds or pecans are fantastic swaps if you prefer a different nut.
 Let’s Make it Together |
- To ensure the sugar dissolves completely and doesn’t leave grains, whisk your milk, cream, and granulated sugar in a pot over medium heat until the sugar vanishes.
- To infuse the base with maximum aroma, stir in the vanilla extract and a pinch of salt after removing the mixture from the heat, then let it cool completely in the fridge.
- To achieve a deep, nutty flavor, toast your cashews in a dry pan over medium heat for 3-5 minutes until they are golden brown and fragrant.
- To create the caramel ribbons, melt butter and brown sugar together in a saucepan, stirring constantly until a thick, bubbly syrup forms that smells like toasted marshmallows.
- To avoid lumps in your frozen treat, pour the chilled cream mixture into your ice cream maker and churn according to the manufacturer’s directions until it reaches a soft-serve consistency.
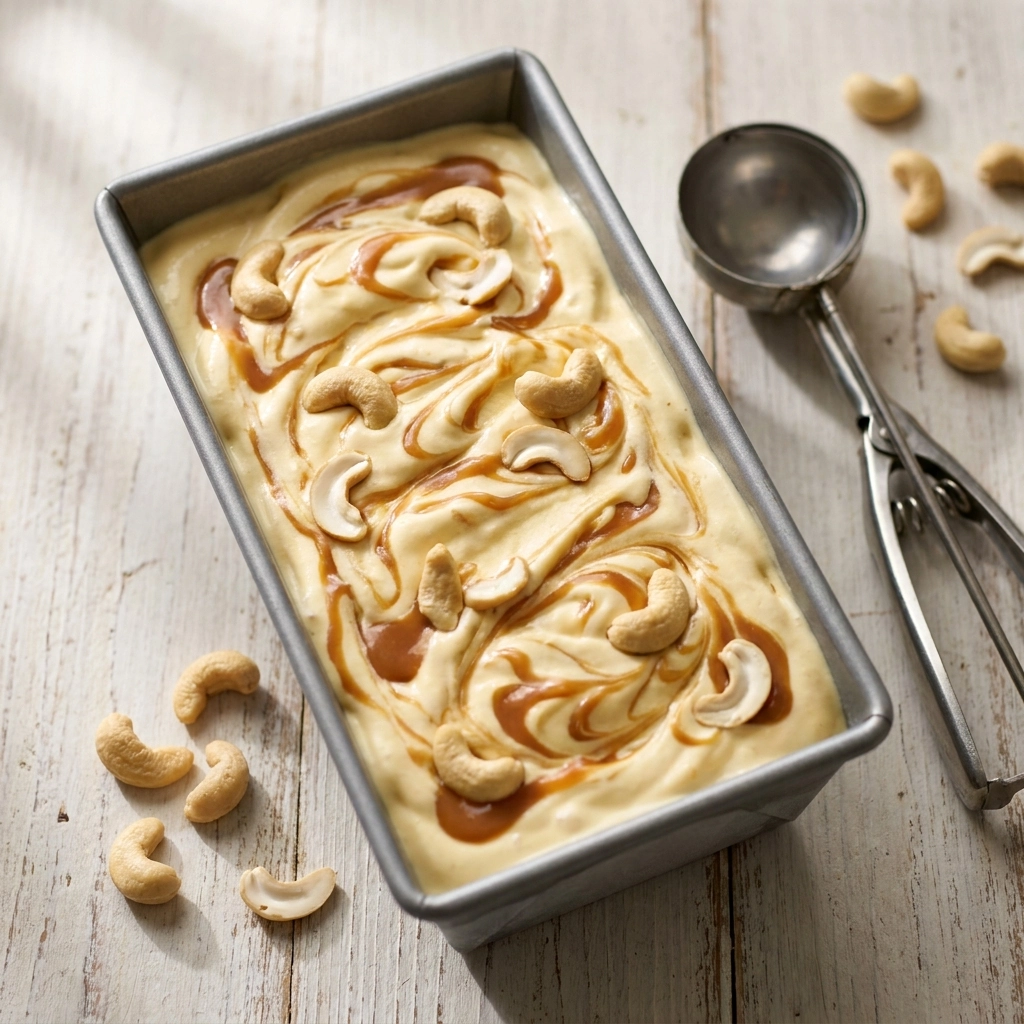
- To create those beautiful swirls, layer the churned ice cream in a container and gently fold in the cooled caramel sauce and toasted cashews with a spatula—don’t overmix!
Chill your mixing bowl for at least two hours if you are using one to keep the fats stable.
Avoid adding the caramel while it is boiling hot, or it will melt your ice cream instantly.
Always use a high-fat cream to prevent the dreaded ice crystals from forming during freezing.
Do not over-churn the mixture, as this can actually cause the butter to separate from the cream.
Ensure your cashews are cooled to room temperature before folding them into the cold base.
Perfecting the Cooking Process |
Temperature is the secret language of ice cream. If your base is too warm when it hits the machine, the air bubbles won’t incorporate correctly, resulting in a dense, blocky texture rather than a fluffy scoop. Always ensure your custard has spent at least four hours in the refrigerator before you even think about turning on the machine. Have you ever wondered why professional shops have such smooth textures? It is all about the slow chill.
Timing your additions is equally critical for the visual appeal. If you add the caramel and nuts during the churning process, they will simply be pulverized and blended into the base. in the very end, you create distinct pockets of flavor and texture. This technique ensures that every bite contains a satisfying contrast between the velvet cream and the crunch of the nut.
Add Your Touch |
Why settle for one version when you can experiment with a variety of twists? For a salty-sweet explosion, add a generous pinch of flaky sea salt directly into the caramel sauce. If you are looking for a seasonal autumn vibe, stir in a teaspoon of cinnamon or pumpkin spice into the cream base. For those seeking a dairy-free miracle, swap the cream for coconut cream and use a maple-based syrup for the swirl.
You can also lean into a more adult flavor profile by adding a tablespoon of bourbon or dark rum to the caramel sauce for a rich, boozy undertone. If you want an extra layer of texture, consider adding crushed pretzel bits along with the cashews for a ‘sweet and salty’ crunch. Does a hint of orange zest in the vanilla base sound intriguing? Try it to brighten up the heavy fats of the cream and butter.
Storing & Reheating |
Transfer your finished masterpiece into an airtight container, preferably one with a freezer-safe lid. To prevent freezer burn, press a piece of parchment paper or plastic wrap directly onto the surface of the ice cream before sealing the lid, which blocks air from touching the cream.
Since this is a frozen dessert, you never want to ‘reheat’ it in the traditional sense. Instead, let the container sit on the kitchen counter for about 5 to 10 minutes before scooping. This allows the edges to soften slightly, giving you that perfect, professional-looking curl in your bowl.
1Use a heavy-bottomed pot for the caramel to prevent hot spots that can burn the sugar.
2Sift your sugar if you notice any clumps before adding it to the milk.
3Taste your base before churning; it should be slightly sweeter than you want the final product to be.
4Toast your cashews in small batches so they don’t crowd the pan and steam.
5Invest in a high-quality vanilla bean paste for those tiny black specks that signal luxury.
FAQ |
- ●Q: Can I make this without an ice cream machine?A: Yes, you absolutely can! Pour the mixture into a shallow pan and freeze it, stirring vigorously with a fork every 30 minutes for about 3 hours. This breaks up the ice crystals manually and mimics the churning process, resulting in a creamy treat.
- ●Q: Why did my ice cream turn out icy instead of creamy?A: This usually happens if the fat content is too low or if the mixture froze too slowly. Ensure you are using heavy cream and that your freezer is set to a very cold temperature to lock in the texture quickly.
- ●Q: How do I stop the caramel from hardening into a rock?A: Add a small amount of butter or a splash of cream to your caramel sauce at the end of cooking. This keeps the sauce supple and prevents it from becoming a hard candy when it hits the freezer.
- ●Q: Which cashews are best for this recipe?A: Raw, unsalted cashews are the best starting point because they allow you to control the toast level and saltiness. Toasting them yourself releases natural oils that provide a much more intense flavor than pre-roasted store-bought nuts.
Creamy Caramel Cashew Ice Cream: A Homemade Dream
- Total Time: 35 minutes
- Yield: 1 quart 1x
Description
A luxurious, homemade ice cream featuring a buttery caramel swirl and toasted cashew crunch. Perfect for dessert lovers who crave a balance of salty and sweet.
Ingredients
- 2 cups heavy cream
- 1 cup whole milk
- 3/4 cup granulated sugar
- 1 tbsp vanilla extract
- Pinch of salt
- 1/2 cup salted butter
- 1 cup brown sugar
- 1/2 cup toasted raw cashews
Instructions
- Heat milk, cream, and granulated sugar until dissolved.
- Stir in vanilla and salt, then chill the mixture for 4 hours.
- Toast cashews in a pan until golden brown.
- Melt butter and brown sugar together to create a caramel sauce; let cool.
- Churn the chilled cream base in an ice cream maker until thick.
- Fold in the cooled caramel and toasted cashews by hand.
- Prep Time: 20 minutes
- Cook Time: 15 minutes
- Category: Dessert
- Method: Churning
- Cuisine: American