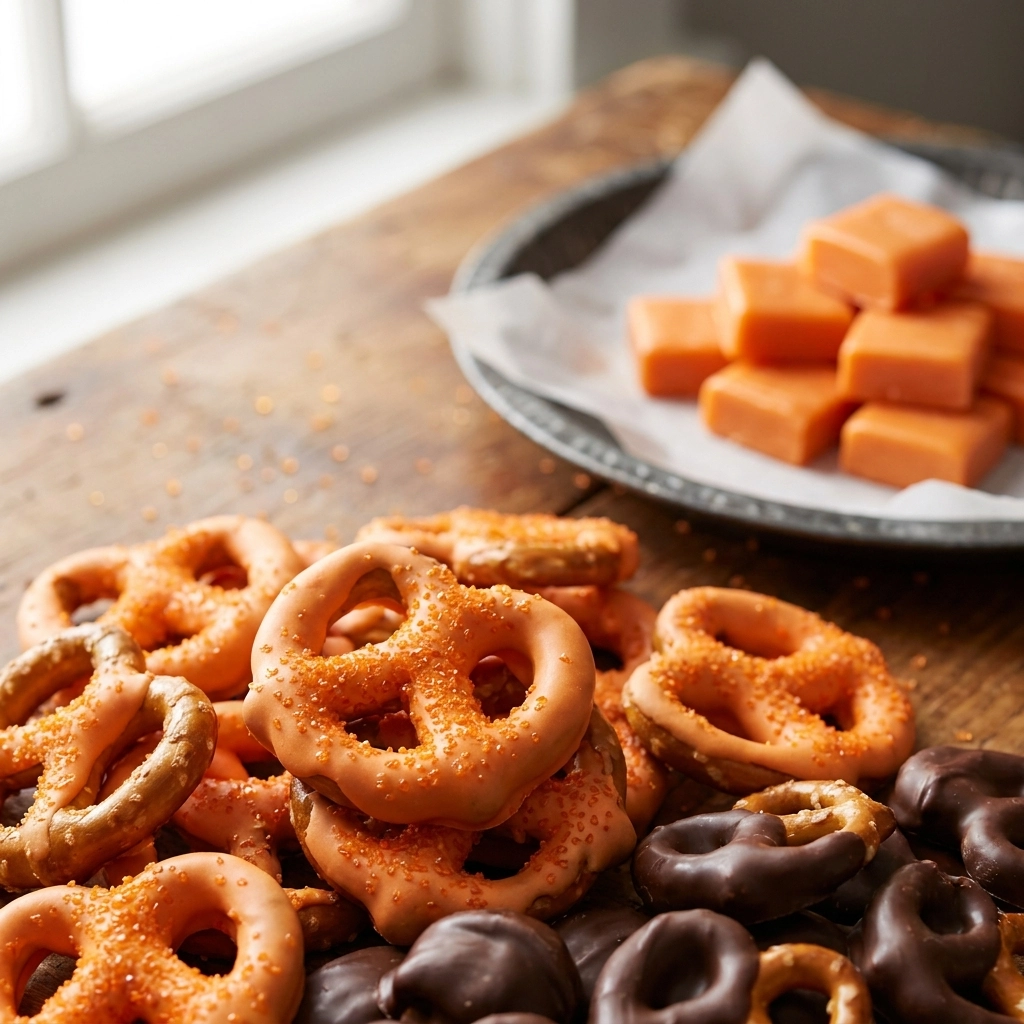
I can still remember the intoxicating scent of melted white chocolate filling my kitchen for the first time on a rainy October afternoon. The air felt heavy with anticipation as I carefully placed tiny candy eyeballs onto shimmering orange coatings.
These festive treats bring together the addictive crunch of salty pretzels with a variety of colorful, spooky coatings. They are essentially a sweet and salty masterpiece that requires no actual baking.
Families love them because they are visually striking but incredibly simple to assemble. You get that satisfying snap of the pretzel combined with a creamy, sugary finish.
Unlike store-bought seasonal candies, you control the quality of the chocolate and the exact placement of the decorations. This means every single piece looks like a professional confection.
Anyone can master this, even if you have never touched a candy thermometer in your life. It is the ultimate activity for kids who want to help in the kitchen.
Looking for more festive inspiration? Try our Spooktacular Halloween Recipe Ideas To Try Out Now Easy Halloween Party Treats
Let us dive into the steps to create these hauntingly delicious snacks.
- ●Why You’ll Love This Recipe
- ●A Brief Background / Why This Recipe Works
- ●Perfect For Spooky Parties and Family Fun
- ●Main Ingredient Spotlight: Pretzels
- ●Secondary Ingredient Spotlight: Melting Chocolate
- ●Key Ingredients
- ●How to Make It
- ●Pro Tips
- ●Delicious Variations
- ●Best Ways to Serve
- ●Storage and Leftovers
- ●Frequently Asked Questions
- ●Why This Recipe Belongs in Your Weekly Rotation
- ●Final Thoughts
There are so many reasons to bring these into your home during the autumn season.
- ●Zero oven time means no waiting around for things to bake.
- ●The contrast between salt and sugar is universally loved.
- ●You can customize the colors to match your specific party theme.
- ●Ingredients are affordable and available at any local grocery store.
- ●It is a fantastic way to keep children entertained and creative.
- ●The preparation time is incredibly short, leaving you more time to decorate.
- ●They are portable and easy to transport to school or work.
- ●The visual appeal is high, making them look far more difficult than they are.
- ●They serve as a great conversation starter for guests.
- ●The cleanup is minimal compared to traditional baking.
Once you see the joy they bring to a party platter, you will never go back to plain snacks.
A Brief Background / Why This Recipe Works |
The magic of this treat lies in the chemistry of the flavor profile. Salt acts as a flavor enhancer for chocolate, making the sweetness pop while preventing the candy from feeling cloying.
I remember a total disaster early on when I tried to melt chocolate in a microwave on high heat for three minutes straight. I ended up with a burnt, chunky mass that looked more like lava than candy, which taught me the importance of low and slow heating.
It is a simple concept executed with maximum visual impact. If you are looking for another salty snack, check out our Spooktacular Halloween Popcorn Recipe For Fun Treats Easy Halloween Snack Mix
Perfect For Spooky Parties and Family Fun |
These are a dream for busy weeknights when you need a quick treat to reward kids for a good school day. Since there is no cooking involved, you can whip them up in under twenty minutes.
For those who love meal prep, you can prep the chocolate coatings a few days in advance. Simply keep them in an airtight container until the big event arrives.
They are the ideal addition to a Halloween buffet, sitting comfortably alongside savory items. They provide that essential sugar kick that keeps the energy high during a costume party.
Main Ingredient Spotlight: Pretzels |
Pretzels actually date back to the 7th century, where they were originally created as prizes for children who memorized their prayers. In this recipe, they provide the essential structural integrity and a savory counterpoint to the sugar.
The airy, crisp texture of a twisted pretzel creates a wonderful landscape for the chocolate to cling to. Their neutral, salty flavor ensures that the spooky decorations remain the star of the show.
Secondary Ingredient Spotlight: Melting Chocolate |
Melting Chocolate contains cocoa butter, a vegetable fat that gives chocolate its unique ability to snap when cold and melt smoothly at body temperature. This property is what allows us to create a professional-looking shell.
Using a high-quality melting chocolate or candy melt ensures that the colors stay vibrant and don’t streak. It provides the glossy finish that makes these pretzels look like they came from a high-end boutique.
Key Ingredients |
Gather these basic items to get started on your spooky creations.
- ●Pretzels — The crunchy, salty base for the treats.
- ●Melting Chocolate — The sweet coating that holds everything together.
- ●Candyy Eyeballs — The adorable decorations that bring the pretzels to life.
- ●Food Coloring — Used if you are using white chocolate and want custom colors.
- ●Sprinkles — Added for extra texture and festive flair.
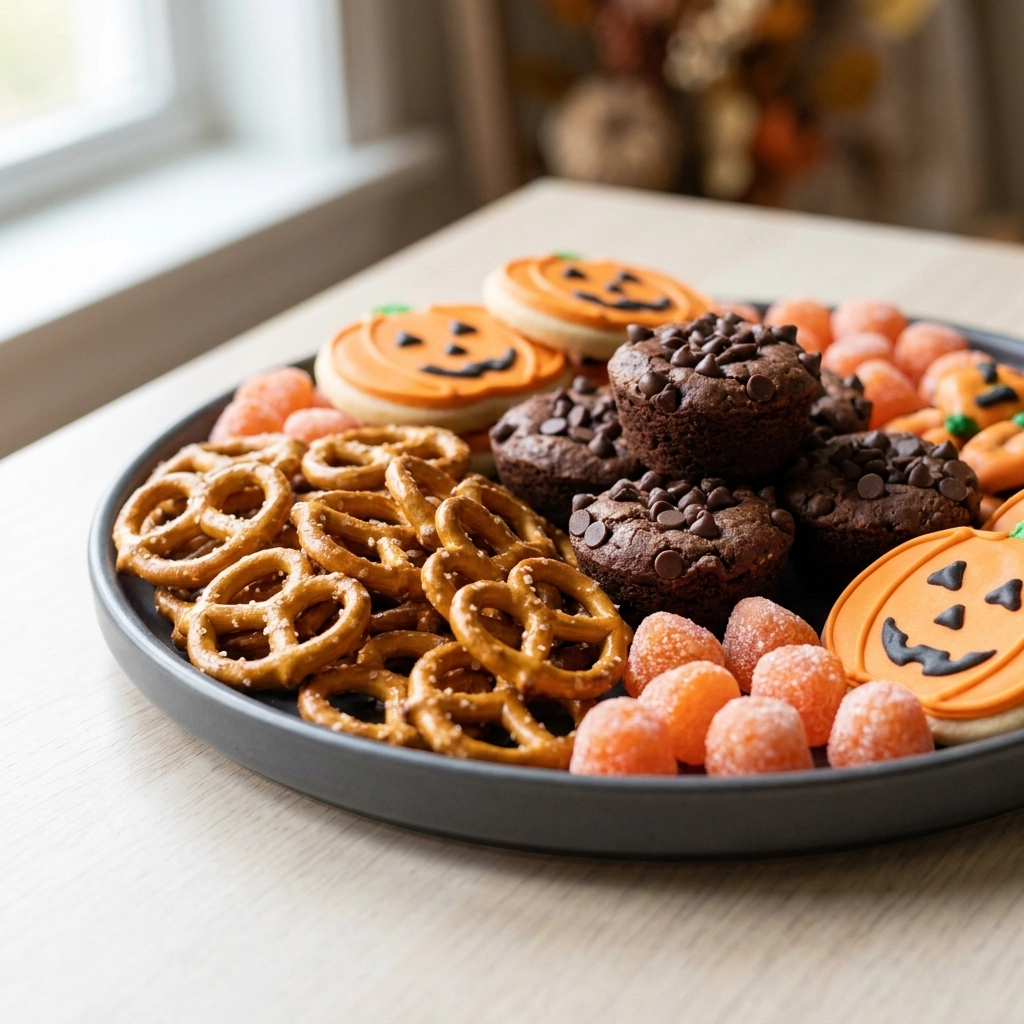 How to Make It |
Follow these steps closely, and I promise you will have a tray of beautiful treats in no time.
- Prepare your workspace: Line a large baking sheet with parchment paper or a silicone mat. This is vital because if the chocolate sticks to the pan, you’ll end up with messy, torn pretzels.
- Melt the chocolate: Place your chocolate in a microwave-safe bowl and heat it in 30-second intervals. Stir between each burst to ensure the heat distributes evenly; if you leave it too long, you might burn the chocolate, which makes it clump.
- Dip the pretzels: Take a pretzel and dip it slowly into the melted chocolate, rotating it to cover the sides. Leave a tiny bit of the bottom exposed if you want a “dipped” look, or cover it completely for a bold color.
- Set the pretzels: Gently place the coated pretzel onto your lined baking sheet. Be careful not to press down too hard, or the chocolate will flatten out and lose its rounded, appetizing shape.
- Add the spooky details: While the chocolate is still wet, quickly press your candy eyeballs and sprinkles into the coating. You have to work fast here because once the chocolate sets, the decorations will just slide right off.
- Cool and harden: Let the pretzels sit at room temperature for about 20 minutes or pop them in the fridge for 5 minutes if you are in a rush. You’ll know they are ready when the chocolate feels firm to the touch and doesn’t smudge.
It is as simple as that! For more cute ideas, see our Spooky Nutter Butter Ghosts Easy Halloween Treats Cute Halloween Dessert Ideas
1Use these insider secrets to ensure your pretzels turn out perfectly every single time.
- ●2Avoid Water: Ensure your bowls and spatulas are completely dry, as a single drop of water can cause chocolate to “seize” and become a grainy paste.
- ●3Temperature Control: If the chocolate is too thick, add a teaspoon of coconut oil to thin it out for a smoother dip.
- ●4Consistent Dipping: Use a fork to lift the pretzel out of the chocolate and gently tap it against the side of the bowl to remove excess drips.
- ●5Sifting Sprinkles: To get a more evenly distributed look, shake your sprinkles over the tray instead of placing them one by one.
- ●6Parchment is King: Never use foil; the chocolate bonds to it far more aggressively than it does to parchment paper.
Delicious Variations |
Feel free to experiment with these twists to make the recipe your own.
- ●Dark Chocolate Gothic: Use 70% cocoa dark chocolate for a more sophisticated, less sweet version.
- ●Pumpkin Spice Twist: Mix a pinch of pumpkin pie spice into the melted white chocolate before dipping.
- ●Peanut Butter Base: Use peanut butter filled pretzels for an extra layer of creaminess and flavor.
- ●White Chocolate Ghosts: Keep the coating stark white and use a black edible marker to draw ghost faces.
- ●Colorful Chaos: Use multiple colors of chocolate on one tray to create a rainbow of spooky snacks.
No matter which version you choose, the result will be absolutely delicious.
Best Ways to Serve |
Presentation is everything when it comes to Halloween treats.
- ●Arrange them on a large wooden board interspersed with fresh grapes and berries.
- ●Place them in a glass jar filled with orange tissue paper for a cute gift.
- ●Scatter them across a platter with other spooky appetizers for a full spread.
These pretzels pair wonderfully with a chilled glass of apple cider or a warm pumpkin latte. The drink’s warmth helps melt the chocolate slightly in your mouth, releasing all the flavors.
If you are planning a full party, consider pairing these with Spooky Bell Peppers Fun Halloween Recipe Ideas Easy Halloween Appetizer Recipes for a balanced menu. They bring a nice contrast of sweet and savory to the table.
Storage and Leftovers |
Refrigerating
Store your finished pretzels in an airtight container in the fridge for up to 7 days. This keeps the chocolate crisp and prevents the candy eyes from softening. Be sure to keep them away from strong-smelling foods like onions, as chocolate tends to absorb those odors.
Reheating
Do not reheat these treats. The goal is for the chocolate to remain snappy and the pretzel to stay crunchy. If they have become too cold, simply let them sit at room temperature for 10 minutes before serving.
Freezing
You can freeze these for up to 3 months individually in wax paper and placing them in a freezer-safe bag. When you are ready to eat them, let them thaw in the fridge to avoid condensation from forming on the chocolate, which can cause “sugar bloom” or white spots.
For more party ideas, check out Spooky Spider Deviled Eggs Recipe For Halloween Fun Easy Halloween Appetizers
Frequently Asked Questions |
- ●Q: Why did my chocolate get lumpy when melting?A: Lumpy chocolate usually happens because it was overheated, causing the cocoa solids to separate from the fats. To fix this, you can try adding a small amount of coconut oil or a tiny splash of vegetable oil and stirring vigorously to smooth it back out.
- ●Q: Can I use regular chocolate chips instead of melting wafers?A: Yes, you can use chocolate chips, but they contain stabilizers that make them thicker than professional melting wafers. You will likely need to add a teaspoon of shortening or coconut oil to ensure the chocolate flows smoothly over the pretzels.
- ●Q: How do I stop the candy eyes from falling off?A: The key is timing. You must apply the decorations immediately after placing the pretzel on the parchment paper while the chocolate is still completely liquid. If the chocolate begins to set, the eyes will not adhere properly.
- ●Q: Do these pretzels need to be refrigerated to set?A: While they will set at room temperature, the refrigerator speeds up the process significantly. This is especially helpful if you are working in a warm kitchen during the autumn, as the ambient heat can keep the chocolate soft.
- ●Q: My chocolate has white streaks in it, what happened?A: This is called fat bloom, and it happens when the chocolate is cooled too slowly or stored in a place with fluctuating temperatures. It does not affect the taste or safety of the treat, but it does change the visual appearance.
Why This Recipe Belongs in Your Weekly Rotation |
While these are themed for Halloween, the concept of dipping salty snacks in sweet coatings is a winner all year round. You can easily swap the eyeballs for festive sprinkles in December or heart-shaped candies in February.
It provides a low-stress way to involve the whole family in the kitchen. There is something deeply therapeutic about the rhythmic process of dipping and decorating that helps everyone unwind.
Because it requires so few tools and no heavy cleanup, it fits perfectly into a hectic schedule. You get the satisfaction of a gourmet-looking dessert without the exhaustion of a multi-hour baking session.
Final Thoughts |
These treats are a brilliant combination of salt, sweetness, and spooky charm that anyone can achieve. They turn a simple pantry staple into a festive centerpiece with just a few easy steps.
You should make these because they bring a touch of magic to your celebrations while remaining completely stress-free. They are the perfect way to create a memorable, edible experience for your loved ones.
Grab your pretzels and let your creativity run wild this spooky season!
Halloween Pretzels You’ll Love – Spooky & Easy Recipe
- Total Time: 20 minutes
- Yield: 24 pretzels 1x
Description
A delightful blend of salty pretzels dipped in melted chocolate and decorated with spooky candy eyes. An easy, no-bake treat perfect for Halloween parties.
Ingredients
- 1 bag of twisted pretzels
- 12 oz melting chocolate (white, milk, or dark)
- 1 pack candy eyeballs
- Orange or purple food coloring (optional)
- Festive sprinkles
Instructions
- Line a baking sheet with parchment paper.
- Melt chocolate in a microwave-safe bowl in 30-second intervals, stirring in between.
- Add food coloring to the melted chocolate if desired and stir until smooth.
- Dip each pretzel into the chocolate, rotating to cover the sides.
- Place the coated pretzels on the prepared baking sheet.
- Immediately add candy eyeballs and sprinkles to the wet chocolate.
- Allow to set at room temperature for 20 minutes or refrigerate for 5 minutes.
- Prep Time: 20 minutes
- Cook Time: 0 minutes
- Category: Dessert
- Method: Dipping
- Cuisine: American